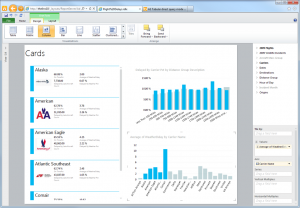
Getting Started with PowerView
This is a short post to get you started with Microsoft’s new PowerPivot technology, which is part of the new SQL Server 2012 Self-Service BI.
The following is the required steps to getting a PowerPivot model uploaded onto a SharePoint site, and using this newly created model to build PowerView reports.
Build a PowerPivot model in Excel
- Retrieve all the data tables you want to use in your model, using one (or many) of PowerPivot’s import data-sources
- Build relationships between tables (if any exists); this will allow PowerView to dynamically filter data based on user interaction (basically perform a visual “drill-throughs”, slicing and dicing).
- Create a SharePoint PowerView Gallery if you do not already have one.
- Upload your Excel document with the PowerView model
- Once your document is uploaded, you should see it listed in the main menu, to active PowerViews, just click on the following icon in the top right hand corner
Upload PowerPivot Excel Sheet to SharePoint 2010 Installation (with PowerViews)
Once you are happy with your PowerPivot model, and have all the required data, you will need to upload your model to the SharePoint site

You can start designing your PowerView report based on the uploaded PowerPivot model, this is using the very familiar dimensions and measures models to build these reports, as you might encounter while building a PivotTable on Excel using either PowerPivot’s tabular model or SSAS Multi-Dimensional analysis models.


Leave a Reply
Want to join the discussion?Feel free to contribute!